7 Days of Laser Downtime: A Day-by-Day Healing Calendar
The seven days after a laser treatment can feel like a long, uncertain wait. What you’ll see is a crusty, flaky, sometimes splotchy healing arc — and knowing what’s normal can ease a lot of worry. This day-by-day calendar walks you through exactly what your skin looks and feels like at each stage, with clear signals that separate routine recovery from the first hints of post-inflammatory hyperpigmentation (PIH) or an infection. You won’t find filtered marketing timelines here, only an honest log of what to expect.
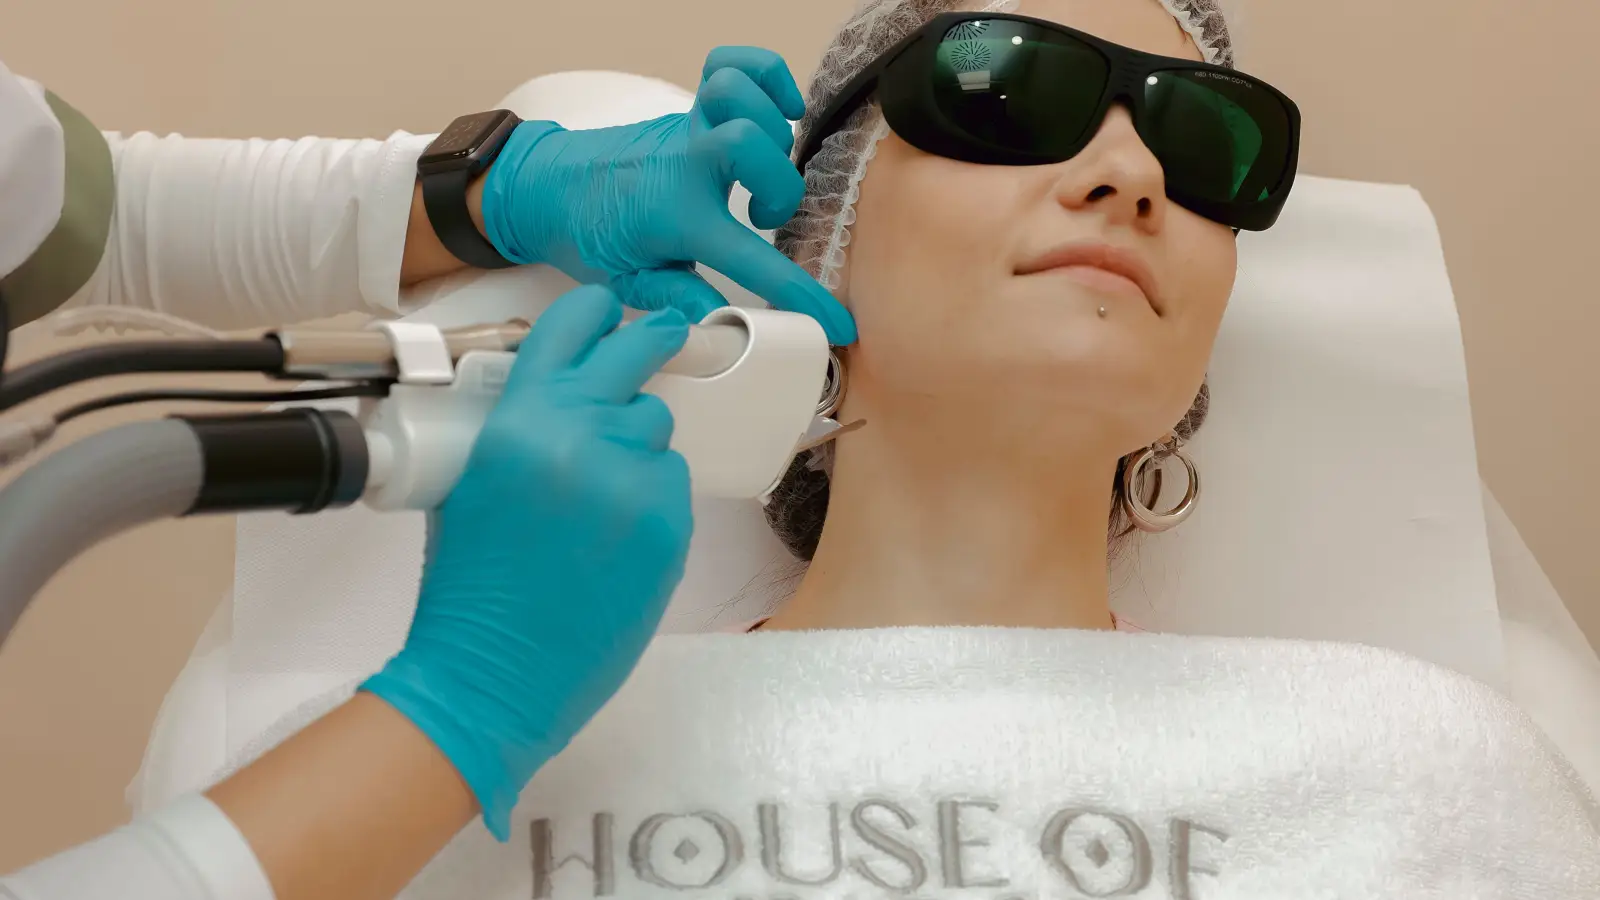
If your skin holds more melanin, inflammation can wake up pigment cells too eagerly, so you’ll want to pay gentle attention to any gray-brown patches that appear. This guide is meant to be a steady companion, helping you spot the difference between a harmless ugly duckling phase and a situation that needs your provider’s eyes.
Essentials for a Gentle Healing Week
Before your skin begins its work, collecting a few simple supplies can make the week feel less daunting:
- A fragrance-free cleanser that your provider recommends
- An occlusive healing ointment (often petrolatum-based) to keep the skin comfortably moist
- A broad-spectrum mineral sunscreen with SPF 30 or higher
- Soft, clean towels — a fresh one for each cleanse
- A cool-mist humidifier if your home’s air is dry
- Loose-fitting hats or scarves for sun protection when you must step outside
- Any prescribed topical antibiotic or steroid cream your provider has included
Set aside active ingredients and exfoliants for at least two to four weeks. Right now, your only job is to protect and soothe.
What Healing Really Looks Like: A Gentle Day-by-Day Log
Day 1: The Raw Start
Right after treatment, your skin will feel tender and look weepy — clear or slightly blood-tinged fluid is common, alongside redness and swelling. A stinging sensation may linger for several hours, and it’s okay to find this unsettling. Your skin has been deeply worked, and it’s now calling for a calm, protected environment.
Apply the ointment as instructed, using fingertips that have been washed or a clean spatula. Prop your head up on pillows, even while sleeping, and place cool, damp cloths (not ice) over the treated areas to soothe the swelling. Moisture is your ally right now.
What to watch for: Pain that doesn’t ease with ordinary relief, thick discharge that looks like pus, or redness spreading far beyond the treated area may signal an infection. If any of these appear, reach out to your provider without delay.
Day 2: The First Crusts Settle In
By the next morning, the weeping usually slows, and you’ll begin to see thin, reddish-brown crusts. The skin will feel tight, and an itch may start to build — an uncomfortable but normal sign that the nerve endings are mending and new tissue is on its way.
Keep applying the ointment. If your provider has given the go-ahead, you can rinse gently with water and a soft cloth, but don’t rub. Pat the skin dry and layer on that protective ointment again.
What to watch for: Crusts that take on a yellow-green hue and have an unpleasant smell are not typical. If you also feel heat radiating from the area, an infection could be brewing.
Day 3: Deep, Firm Crusting
Crusts now sit firmly on the surface, often dark and visibly cracked. Underneath them, the skin is still raw and busy producing fresh collagen. The itch may feel intense — it’s understandable if you feel frustrated. Try to think of those crusts as a natural bandage your skin has built.
Apply ointment liberally with clean hands; resist the urge to scratch. An oral antihistamine might bring relief, especially at night. A bedroom humidifier can also calm that maddening itch.
What to watch for: Any fluid that continues to seep through the crusts — persistent weeping after Day 2 can mean the wound isn’t closing as it should, and that raises the risk of a scar.
Day 4: The Ugly Duckling Arrives
Edges of the crusts begin to lift, revealing skin that’s mottled — patches of pink, reddish-brown, or sometimes a grayish tone in richer skin. This uneven, messy look is exactly what the “ugly duckling” phase describes, and it’s a milestone many people find emotionally difficult. Give yourself permission to avoid mirrors if that helps.
Let the crusts fall off in their own time. You might switch to a lighter moisturizer if your provider says the skin is ready, but never pull at a hanging flake. If your skin tone tends toward deep pigmentation, watch for spots that seem to darken day by day.
What to watch for: New gray-brown patches that deepen rather than blend in, especially in skin that tans easily, could be early post-inflammatory hyperpigmentation. This is the moment when absolute sun protection becomes vital, because UV light will only encourage more pigment.
Day 5: The Big Shed
Flakes and sheets of dried skin detach more noticeably now. The fresh skin underneath is tender — a soft pink in many, or a temporary shade that’s slightly paler than your natural color. A mild sting when you put on ointment is normal, because the skin barrier is still thin and delicate.
Continue your gentle cleansing and moisturizing. If your provider approves, introduce a mineral sunscreen now; even light coming through a window can stir up inflammation at this fragile stage.
What to watch for: Open sores that stay damp and won’t close could mean the re-healing process is stalled. A burning sensation that won’t quit after applying a product may hint at an allergy.
Day 6: New Skin Breathes
Most of the crusts have gone, leaving behind skin that is smooth but highly sensitive. The lingering pinkness can look like a faint sunburn. In darker skin, you might notice a fine, dusty-looking surface where pigment cells are still reorganizing.
Stick with the ointment or a gentle, fragrance-free moisturizer. Reapply mineral sunscreen if you’re near windows, and steer clear of any friction from rough fabrics. Treat this skin as you would a newborn’s — it deserves that level of care.
What to watch for: Blisters or sudden puffiness could point to a product reaction or a secondary infection. Any dark spot that has newly appeared should be marked so you can show your provider at the follow-up.
Day 7: Still Rebuilding, Underneath the Surface
The skin’s pink tone may stay for weeks longer. You might see tiny islands of lighter or darker pigment — these usually even out over time, but they ask for patience. The skin feels less sore now, but it’s nowhere near ready for active treatments.
Firm sun protection remains the most important rule. If your provider says it’s okay, a tinted mineral sunscreen can offer a bit of coverage. Avoid chemical sunscreens unless they have been specifically cleared for your healing skin.
What to watch for: Any spot that continues to darken rather than soften needs a professional’s assessment. Aggressive home remedies at this stage can undo all the good work your skin has done.
Common Missteps That Slow Healing (and How to Avoid Them)
Peeling Off Crusts Before They’re Ready
It’s so tempting to lift a flaking edge — but the skin underneath isn’t sealed. Removing a crust too soon can leave a lasting mark, especially in skin that hyperpigments easily. Keep your hands occupied, trim your nails short, and maybe drape a soft cloth over the area if you tend to touch it without thinking.
Letting Sunlight Kiss the Pink Phase
Newly healed skin has almost none of its natural UV shield. Even a few moments of direct sun can turn that fresh pink into stubborn brown patches. Stay indoors as much as you can, wear a wide-brimmed hat, and don’t forget to apply sunscreen even when you think you’ll stay inside — windows don’t block all UV.
Bringing Back Active Ingredients Too Soon
At Day 7, the skin barrier is still under construction. Retinoids, acids, and strong vitamin C serums will sting and inflame, setting recovery back. Wait at least two to four weeks, and then only add one gentle product at a time with your provider’s guidance.
Scrubbing Because It Itches
Healing itch can be relentless, but scrubbing pulls away the fragile new cells. Instead, use a cool compress, ask your doctor whether an oral antihistamine is safe, and gently pat the area if the sensation becomes unbearable. A scratchy washcloth is the enemy here.
Questions About the Laser Healing Week
How do I know if my skin is healing normally or developing an infection?
Normal healing includes mild redness, itching, and crusts that dry out as the days pass. An infection tends to get worse after the first 48 hours: pain that grows, discharge that looks like pus, warmth that spreads, and sometimes a fever. If you spot any of these, call your provider right away.
When will the redness completely go away?
That soft pink color can hang around for several weeks, particularly in lighter skin. In skin with more melanin, that pink may turn into a brownish tone if it sees any UV light. Dedicated sun protection and patience are the only gentle ways to help it fade without turning into persistent hyperpigmentation.
I see new dark spots during healing — is this normal?
It can happen, especially in melanin-rich skin. If the spots are gray-brown and seem to be darkening day by day, your pigment cells are likely overreacting to inflammation. Shield the skin from all light, avoid any irritation, and once healing is complete, a dermatologist can help you choose safe brightening ingredients.
Can I do anything to make the crusts fall off faster?
No — forcing crusts off tears the healing skin underneath and raises the risk of scars and PIH. Keep the area well-moisturized and let the crusts lift on their own. Gentle rinsing can guide away flakes that are already separated, but never pull.
After Day 7, your skin will continue its quiet work. The best things you can do are unwavering sun protection and giving your skin the time it needs. If dark spots linger or signs of infection appear, book a follow-up visit. Once the skin feels sturdy — usually a few weeks out — your provider may suggest a very gentle pigment-inhibiting routine. Until then, be as kind to your skin as it is being to you, rebuilding each layer from within.
Pigment Curious
We are people who want to better understand skin pigmentation, dark spots, and how different skin tones respond to skincare and professional treatments. We look beyond simple beauty claims, focusing on scientific evidence, clear explanations, and practical knowledge that helps people make more informed decisions about their skin.