Alexandrite Laser Healing: Stop Making This Recovery Mistake
The single most common — and most damaging — recovery mistake after an alexandrite laser treatment is picking at the micro-crusts that form within those first 48 hours. Each tiny speck is not dirt or a blackhead; it’s the skin’s custom-built seal over a microscopic heat injury. When fingers break that seal early, they can push bacteria in, set off stubborn post-inflammatory hyperpigmentation, and even leave a shallow depressed scar.
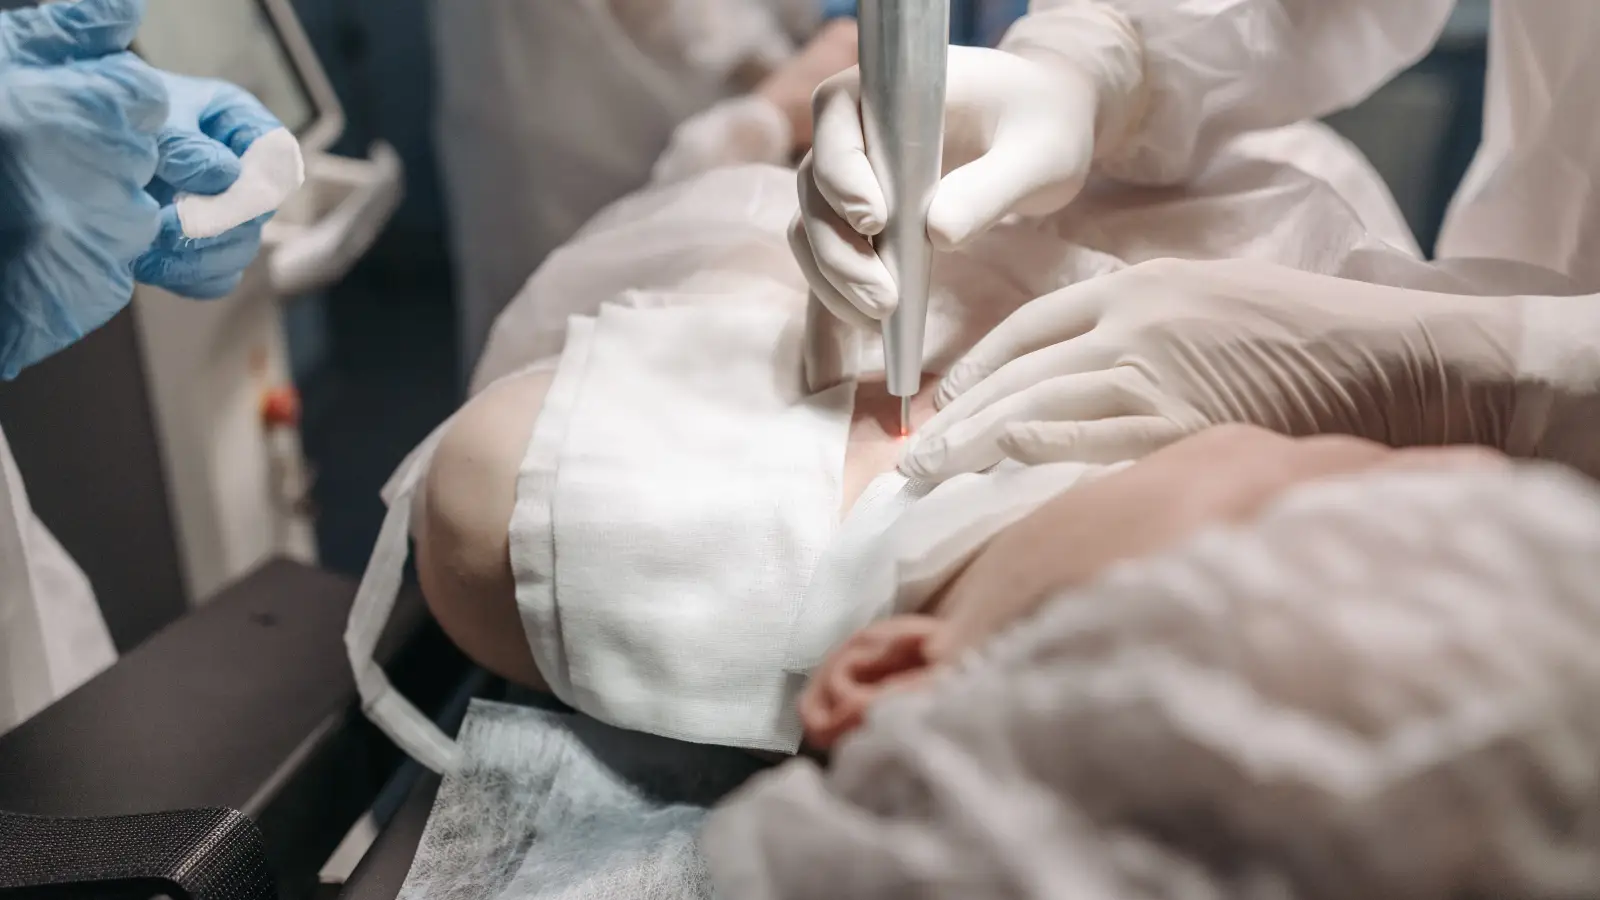
This guide is built entirely around that one error, walking you through a day-by-day visual map so you can tell normal post-laser darkening apart from trouble signs that actually need attention. Every instruction ties back to the same gentle rule: keep hands off, stay patient, and learn to read what your skin is showing you.
Pinpoint Your Current Healing Phase
Every recovery starts from a slightly different place. Find the description that matches where you are right now; the line underneath tells you exactly how this article will help.
- You just finished your session a few hours ago.
Your skin feels hot and tight, maybe with a grayish dusting across the treated area.
Your route through the article: follow the hour-by-hour cooling and protection steps, and understand why the next two days are the critical window where crust integrity makes or breaks your result.
- You are 24 to 48 hours post-treatment, and tiny dark specks have appeared.
They look like finely cracked pepper or coffee grounds sitting on the surface.
Your route: learn why these micro-crusts are not to be picked, how to care for them without disturbing them, and what “normal darkening” actually means.
- You are 3 to 5 days out, and the skin is flaking — but some spots look darker than before.
Panic about hyperpigmentation has already set in.
Your route: use the visual map in this article to accurately tell healthy post-inflammatory darkening from pathologic PIH, and know exactly when it’s time to call your provider.
- You are more than a week in, and patchy brown marks are lingering.
You’re starting to wonder if the treatment backfired.
Your route: understand what protracted post-laser erythema and residual pigment signal, and what a dermatologist would assess before calling it a failed treatment.
Hours 0–6: Cooling and Setting a Protective Foundation
What this stage aims to achieve: calm the acute heat reaction and establish a clean environment so the micro-crusts can form without disruption.
In these first hours, the laser-created micro-channels are sealing over. The skin is flushed — often with a grayish or ashy cast in darker tones. The crusts haven’t even fully hardened yet, so any contact with an unwashed finger can introduce bacteria directly into those tiny openings. It’s a vulnerable window, and the “don’t touch” rule has to become absolute right now.
Concrete steps to take:
- Apply cool, damp compresses with clean gauze (never ice straight on the skin) for 10 minutes on, 10 minutes off. This lowers heat without jolting the microcirculation.
- If your provider gave you a post-laser ointment — often a petrolatum-based balm or a light healing gel — apply a thin layer with a clean spatula or a just-washed fingertip, then stop touching.
- Sleep on a fresh pillowcase tonight, and prop your head slightly if swelling is expected.
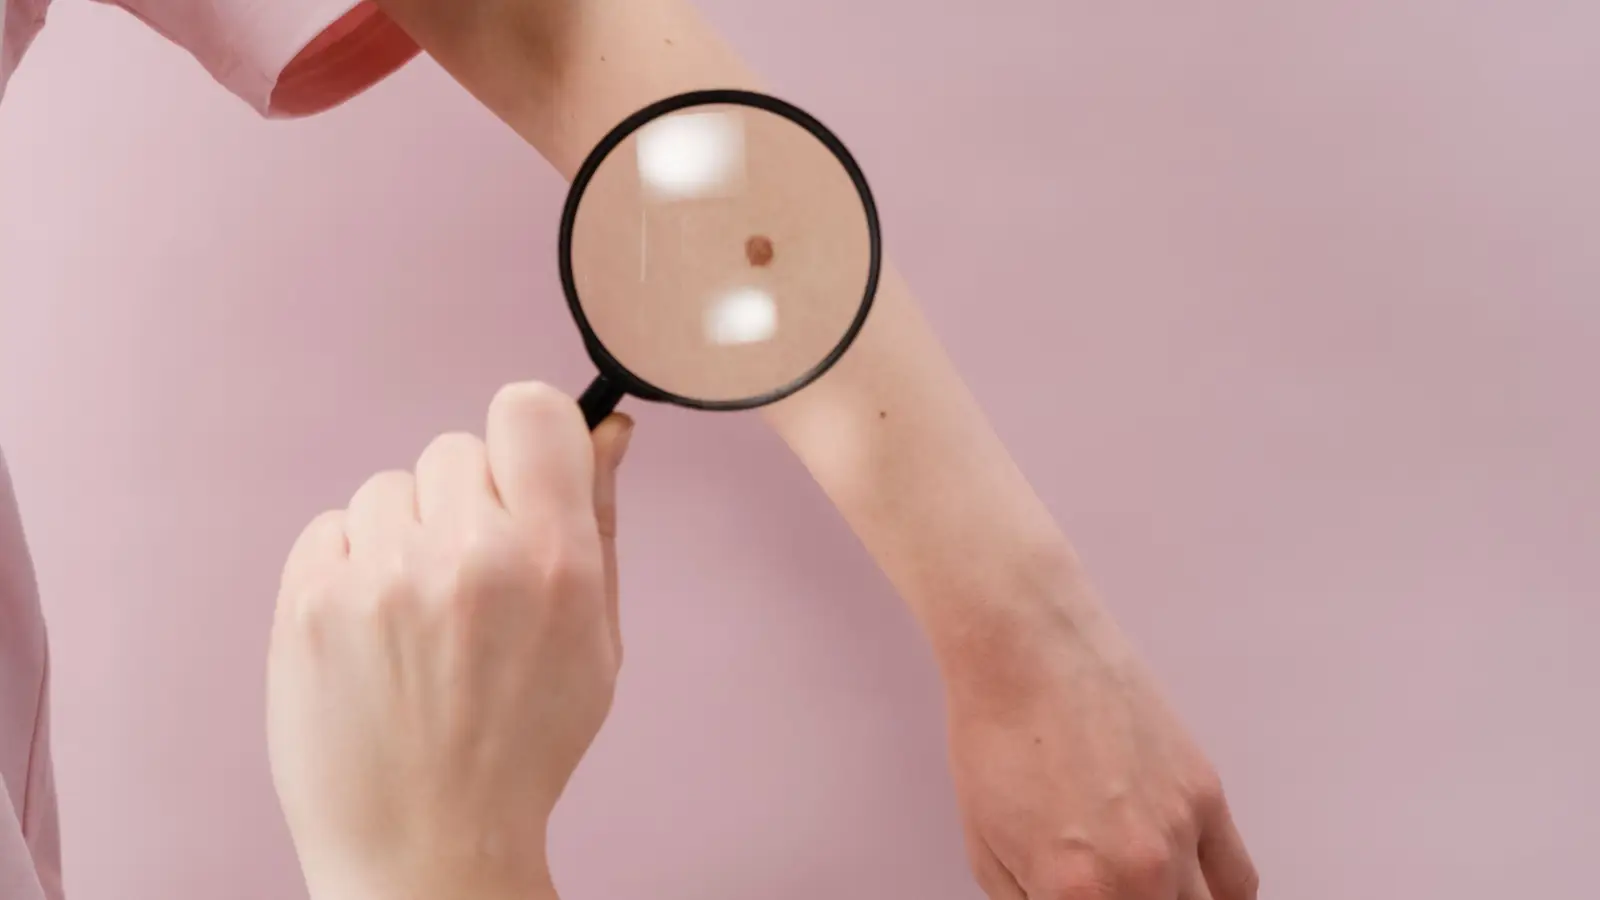
- Stay away from a magnifying mirror. The closer you look, the harder it is to resist the impulse to poke.
Sign you’re ready to move forward: the skin no longer radiates heat, any thin fluid oozing has stopped, and a dry, uniform surface is beginning to set.
Hours 6–48: The Danger Zone for Crust Picking
What this stage aims to achieve: keep the newly formed micro-crusts completely intact, and give you the visual literacy to recognize “normal darkening” so that panic doesn’t undo all your progress.
Those tiny dark dots that show up during this window — often described as coffee-ground-like or pepper-flake specks — are basically coagulated serum, minute blood points, and trapped melanin fragments from the targeted pigment. They are not blackheads, not dirt, and not dead skin that needs to be helped off. Picking them during this phase is the single straightest path to prolonged hyperpigmentation and textural damage. It’s understandable to feel a compulsive urge to “clean” them off, but your skin needs them right where they are.
Concrete steps to take:
- Continue gentle cleansing with a fragrance-free, non-foaming cleanser only if your provider instructed washing. If so, use cool water and pat — never rub.
- Reapply the prescribed balm in a thin layer. Piling on extra won’t hide the dots and can trap heat.
- If an area itches, press a cool cloth against it. The itch is a healing signal, not a problem to solve.
- Resist the temptation to do a “gentle test peel” with the edge of a fingernail. Even a light lift can tear the crust and create pinpoint bleeding that heals darker.
Visual markers that confirm you are on track: The crusts stay small, separate, and flat to slightly raised. They darken a bit as they dry — that’s expected post-laser darkening, not new PIH. The skin around each spot may be pink or mildly swollen, but the redness isn’t spreading.
Sign you’re ready to move forward: the crusts feel completely dry and none have been accidentally knocked off. When a cotton swab is passed lightly over a spot, the crust holds firm.
Days 3–5: The Flaking and Darkening Crossroads
What this stage aims to achieve: support natural shedding while you learn to tell normal post-laser pigment changes apart from signals that genuinely warrant attention.
Around day 3, the micro-crusts start to lift at the edges. This is often the moment when people become frightened because the fresh skin underneath looks pink, raw, or — especially in melanin-rich skin — temporarily darker than before. That temporary deepening of color is a normal hyperchromic response during wound resolution; it’s the skin’s melanocytes being stirred but not permanently damaged. If nothing re-injures that fresh layer, the color gradually softens.
Concrete steps to take:
- Let the crusts drop off on their own. They usually lift during gentle washing or when moisturizer is dabbed on.
- If a crust stays attached on day 5, leave it alone. A crust that won’t budge is still tethered to healing tissue. Pulling it now risks creating a raw spot that heals darker.
- A bland, occlusive moisturizer (like a ceramide cream or medical-grade silicone gel) can be introduced only after most crusts have naturally vacated, unless your provider gives different instructions.
- Sun protection becomes non-negotiable: a broad-spectrum mineral sunscreen of at least SPF 30, reapplied every two hours if you’re outdoors, even under cloud cover.
Visual marker to separate normal darkening from pathologic PIH: Normal post-laser darkening lightens a little each day once the crust lifts, and the skin beneath looks smooth and tight. Early true PIH, in contrast, shows up as a deepening, irregular brown smudge that spreads beyond the original spot — often with a “stained” outline rather than a healing border. Infection announces itself with increasing redness, warmth, yellow crusting, or pus. Any of those infection signs mean you should contact your provider right away.
Sign you’re ready to move forward: 80–90% of the micro-crusts have shed on their own, and any post-crust pinkness or temporary darkening has already started to soften.
Days 6–14: Fading and Skin Normalization
What this stage aims to achieve: guide the skin through re-epithelialization and early pigment stabilization without letting friction or UV exposure trigger a backslide.
By the end of the first week, the surface barrier is largely rebuilt, but the melanocytes are still reactive. One episode of unprotected sun exposure or a rough washcloth can ignite pigmentation that would otherwise have stayed quiet.
Concrete steps to take:
- Stick with the bland moisturizer and mineral sunscreen routine. If you want to introduce a gentle vitamin C serum or a pigment-calming ingredient like kojic acid or tranexamic acid, wait until day 14 and get your dermatologist’s green light first.
- Keep retinoids, alpha-hydroxy acids, and physical scrubs off the skin for at least another 10 days (often longer for deeper skin tones).
- If you return to makeup, use fresh, sanitized tools and mineral-based products, and remove everything with an oil-free micellar water — no rubbing.
Sign you’re ready to move forward: the skin feels smooth under your fingertips, and any lingering pink or brown patches have faded to a level that blends with neighboring skin in normal room light. No new dark marks have cropped up in the last three days.
Beyond Two Weeks: When Lingering Marks Need Evaluation
What this stage aims to achieve: determine whether remaining pigment is simply slow-to-resolve post-treatment hyperchromia or actual PIH that needs targeted help.
If brown patches are still sitting there past week 4, or if the skin has developed depressed scars, time alone won’t be the fix. Early intervention with a pigment-focused regimen or a low-fluence laser can redirect the outcome, but it has to be guided by a professional.
Concrete steps to take:
- Schedule a follow-up with your treating provider to have the marks examined under a Woods lamp or dermatoscope. Where the pigment sits — epidermal or dermal — determines what comes next.
- While you wait, protect the skin obsessively with sunscreen and consider melanocyte-soothing topicals, like 2% kojic acid, 5% niacinamide, or prescription azelaic acid, only if your provider approves.
- Do not reach for at-home spot peels or over-the-counter “scar-lightening” creams without guidance; they can push post-inflammatory dyschromia in the wrong direction.
Sign you’re ready to move forward: your provider confirms the marks are fading on a normal timeline, or they start a corrective plan tailored to your skin’s response.
Recovery Checkpoint Recap
These are the visual and tactile signs from each stage that tell you healing is moving forward the way it should:
- Hour 6: Skin feels cooled, weeping has stopped, and a dry surface is forming.
- Hour 48: Micro-crusts are fully dry, intact, and don’t budge when a cotton swab is passed lightly over them.
- Day 5: Over 80% of crusts have fallen off naturally; the skin underneath is smooth, and any temporary darkening is already beginning to lighten.
- Day 14: Skin is smooth, pink or brown patches have softened under normal light, and no new marks have appeared for the last 72 hours.
Deferred Concerns: What You Don’t Need to Worry About (Yet)
Some fears are valid, but their timeline hasn’t started. Set these aside until the trigger point arrives:
- “Are these dark spots permanent hyperpigmentation?” Trigger: marks that stay unchanged in color or size beyond 6–8 weeks, not a few days after crusting. Early post-laser darkening almost always resolves.
- “Will the crusts leave scars?” Trigger: atrophic or raised textural changes that are still present at 4–6 weeks. Intact crusts that shed naturally rarely cause scarring.
- “Should I start a dark-spot corrector now?” Trigger: wait until at least day 14, and only if your provider recommends it. Starting too early can provoke more pigment.
- “Is this much swelling normal on day 3?” Trigger: worsening, one-sided swelling with heat and pain after day 5 needs evaluation; mild, symmetrical puffiness for a few days is expected.
Gentle Ways to Support Healing Without Risk
No product can truly hustle the biological repair cascade, but a few measures can prevent the setbacks that slow it down:
- Silicone gel sheets or medical-grade silicone balm applied after full crust shedding may smooth texture and lower the risk of hypertrophic changes, especially on the neck or jawline.
- Sleeping with a humidifier keeps the air from stealing surface moisture, which can ease itching and reduce accidental scratching during sleep.
- Cool compresses for itching — steer clear of topical antihistamine creams unless prescribed, because some formulations sting on healing skin.
Questions That Come Up Again and Again
Can I wear sunscreen over healing crusts?
Yes. Choose a gentle, mineral-based sunscreen (zinc oxide or titanium dioxide) without chemical filters, fragrance, or alcohol. Pat it on lightly instead of rubbing. Sun exposure during this fragile phase can turn temporary post-laser color into lasting hyperpigmentation.
How do I tell the difference between a normal micro-crust and an infection?
Normal micro-crusts are tiny, flat or slightly raised, dark brown to black, and they sit against skin that looks healthy — pink but clean. Infected spots turn yellow or honey-crusted, may ooze, hurt more as time passes, and are surrounded by spreading redness. Fever or swollen lymph nodes are late signs.
Why do some dark spots seem even darker after the crust falls off?
This is transient post-inflammatory hyperchromia: melanocytes that got stirred up during the laser session and released extra pigment for a while. As long as the skin isn’t injured again, this fades over 4–8 weeks. It often takes longer in deeper skin tones, which is why sun protection and patience are non-negotiable.
When can I safely use my regular moisturizer and actives again?
A bland, fragrance-free moisturizer can return once most crusts have fallen off naturally, typically around day 5–7. Hold actives like retinol, glycolic acid, or acidic vitamin C for at least 14 days — longer if your skin is melanin-rich and PIH is a known risk. Your provider’s specific instructions always override these general guidelines.
The End of the Active Healing Road
Full, untroubled recovery means skin that feels smooth to the touch, looks even in color under everyday lighting, and carries no lingering texture irregularities. If you arrived here just hours after your alexandrite laser, the very first action — right this moment — is to stop examining every dot in the mirror and instead apply a cool compress, then let your skin do its quiet, careful work without interruption.
Pigment Curious
We are people who want to better understand skin pigmentation, dark spots, and how different skin tones respond to skincare and professional treatments. We look beyond simple beauty claims, focusing on scientific evidence, clear explanations, and practical knowledge that helps people make more informed decisions about their skin.