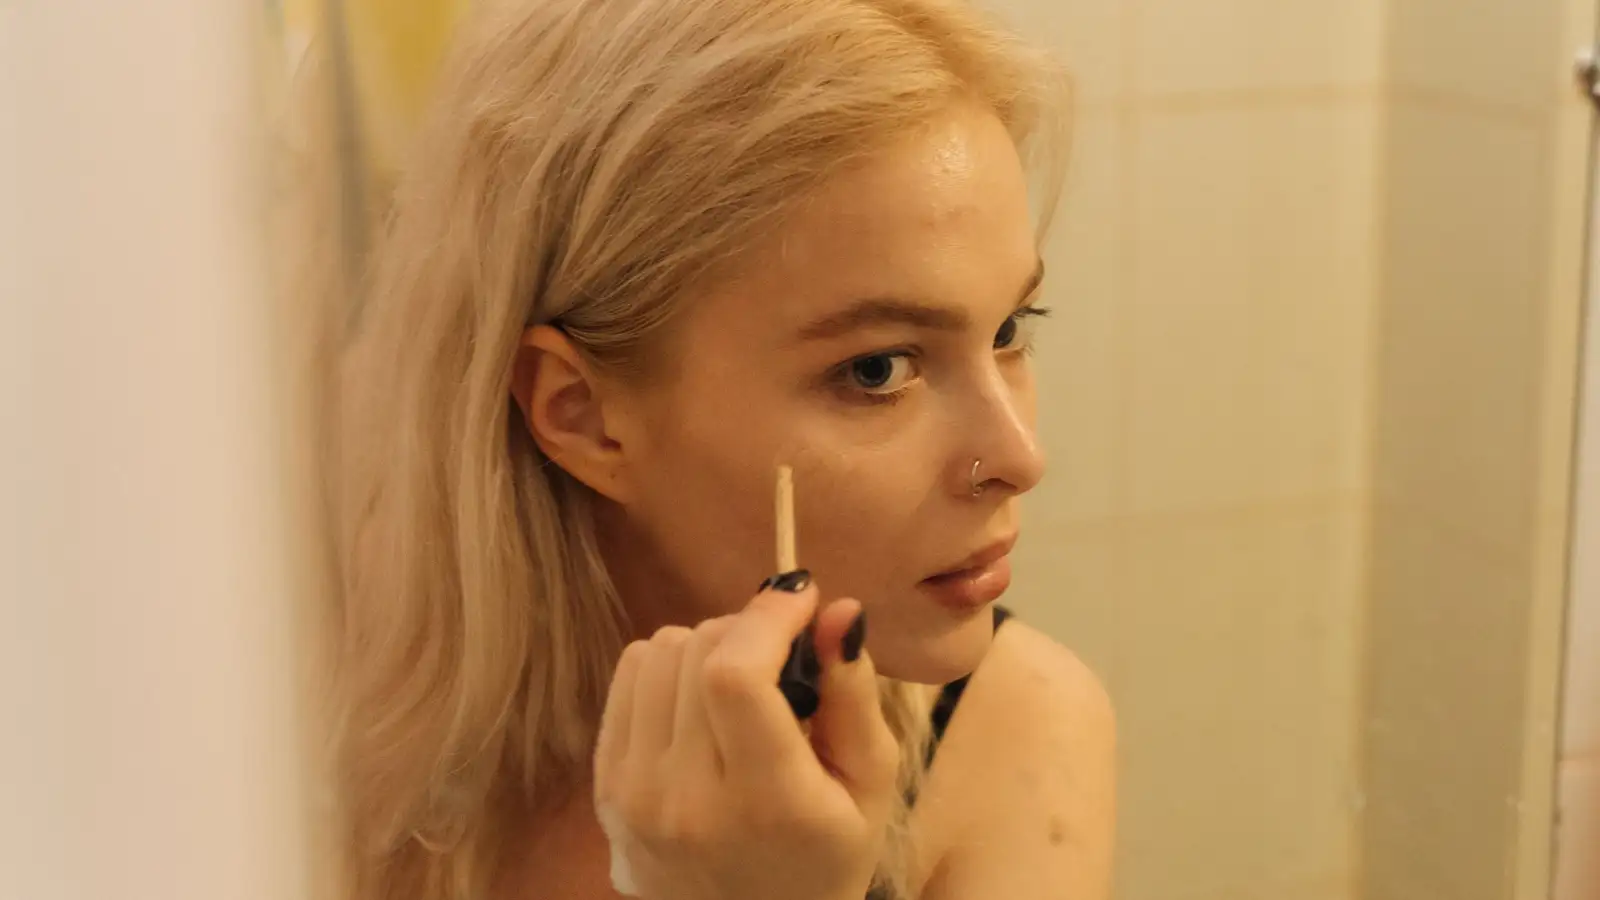
Why Foundation Settles Into Pores and How to Stop It
Foundation settles into pores when the film it forms stops behaving like a film. Once adhesion fails, pigment, oils, and powder migrate into the depressions of your pores and pool there; the pore opening itself has not changed size, shape, or depth. The fix is not a heavier pore filler. It is a thinner, better-adhered layer, pressed instead of swept, powdered only where you actually need it, and checked in daylight before you walk out the door.
I do my real checking at a window, not at the vanity with the bulbs around it. Stand at an angle to the glass so the daylight rakes across your cheek instead of hitting it straight on. Straight-on light flattens texture and hides color shift; a warm bulb does both at once, which is why so many people find out at three in the afternoon in a parking lot what their bathroom mirror never told them. At that raking angle you can finally see the difference between a pore and a shadow, and you can see when the pigment sitting inside a pore has gone darker than the skin around it. That contrast, a dark dot against a lighter surround, is the thing you are actually fighting. Everything below serves that one goal.
The film fails first; the pore just reports it
Foundation is a cast film: pigment and filler suspended in oils, water, and film-formers, designed to sit on top of skin and stay there. Three things break it. Sebum works up from below and pushes through the layer. Pressure comes down from above, from a phone against your cheek, from resting your chin in your hand, from a scarf. Moisture and movement work the edges. When the film loses adhesion, displaced pigment follows the path of least resistance, which is downward into the lowest points of the surface. On most faces those low points are the pore openings.
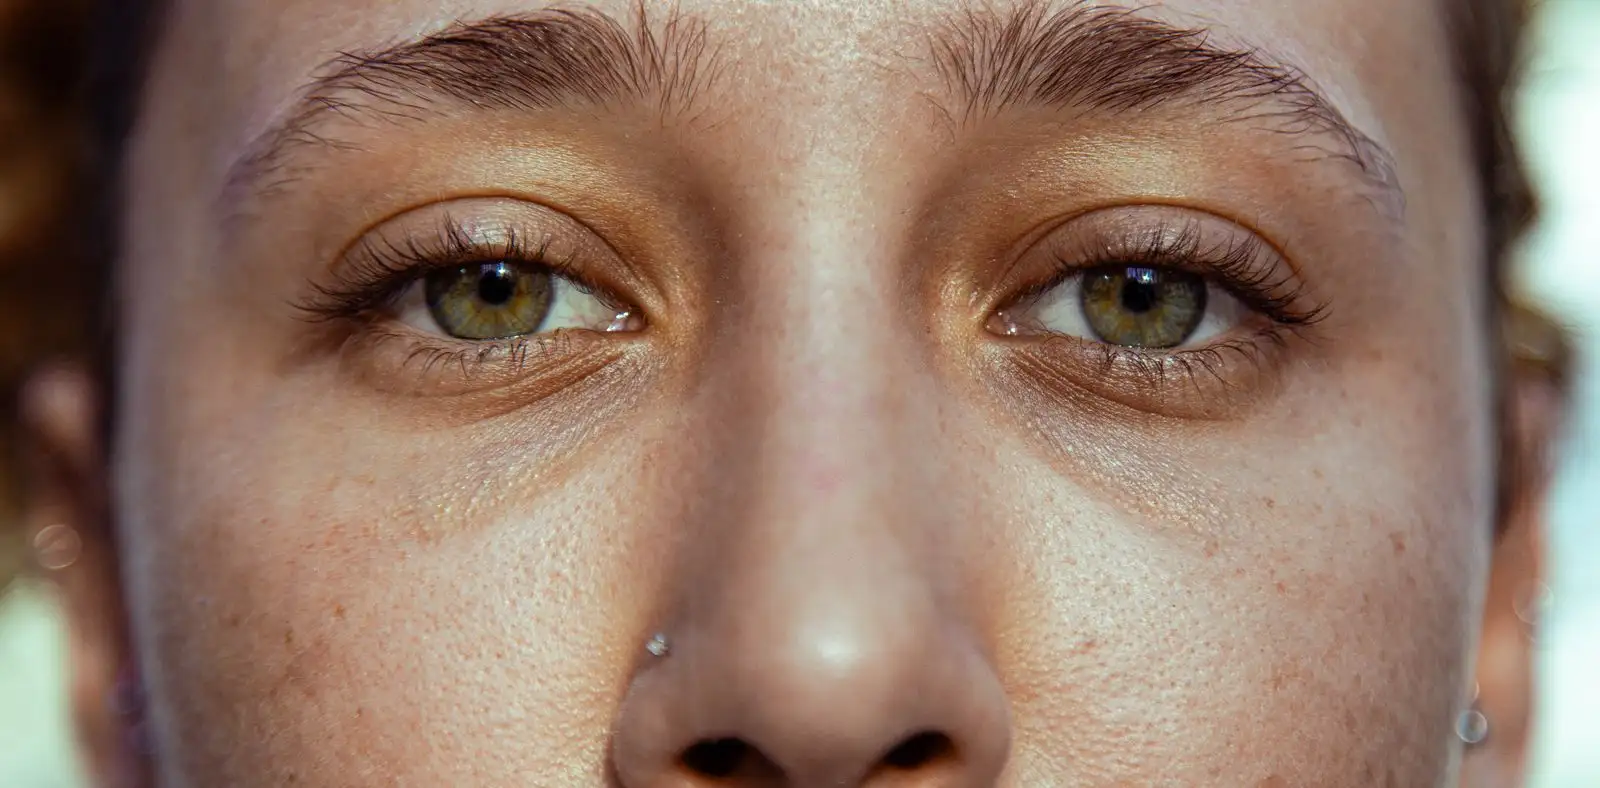
Here is the part that changes how you work: a pore is a depression, not a hole. A thick, still-mobile film sags into that depression the way a heavy blanket sags into the gap between two couch cushions. A thin film that sets quickly bridges over it. So the target was never to fill the pore. The target is to get the film to stop drooping into it. Everything you do with primer, application, and powder either helps it bridge or helps it sag.
Why the same settling reads worse on deeper skin
Two extra multipliers hit melanin-rich skin, and neither one is about pore size.
The first is oxidation. Pigments react with skin oils and shift darker and warmer across the day. On lighter skin that usually reads as orange. On deeper skin it often reads as a deepening, which pushes the pooled pigment in each pore opening further away from the surrounding tone. Same amount of settling, more contrast, so the texture looks worse even when the underlying behavior is identical.
The second multiplier is powder. A translucent powder lighter than your skin leaves pale sediment around every pore opening. Now you have a light ring with a dark center inside it, which is the single most texture-amplifying pattern a face can wear. Under indoor light it can look invisible. In daylight it looks like a rash of tiny dots. If you take one thing from this section: on deep skin, a mismatched powder does more visible damage than the foundation underneath it.
Prep that stops feeding the film
There are two prep errors here, and they point in opposite directions.
If your skin runs oily, the mistake is stacking moisture. A heavy cream, then an oil-based primer, then a foundation built for dry skin, and you have created a film that stays mobile for six hours. Nothing wrong with any one of those alone; together they never set. Wash, apply a light lotion or gel, and give it a few minutes. If your face still feels tacky when you touch it, it is not ready. Foundation applied over wet skincare emulsifies into it and never really adheres, which means it starts the day already halfway to settling.
If your skin runs dry or dehydrated, the mistake is skipping hydration because you are afraid of shine. A dry surface makes the film crack as your face moves, and pigment collects along the cracked edges and around flakes. That is why settled product on dry skin looks patchy and flaky rather than dotty. Hydrate, let it absorb, then apply.
One prep step that costs nothing: blot anything already shiny before you start. Powder is for the film you just built, not for the oil that was there before it.
Press, do not sweep, and build in passes
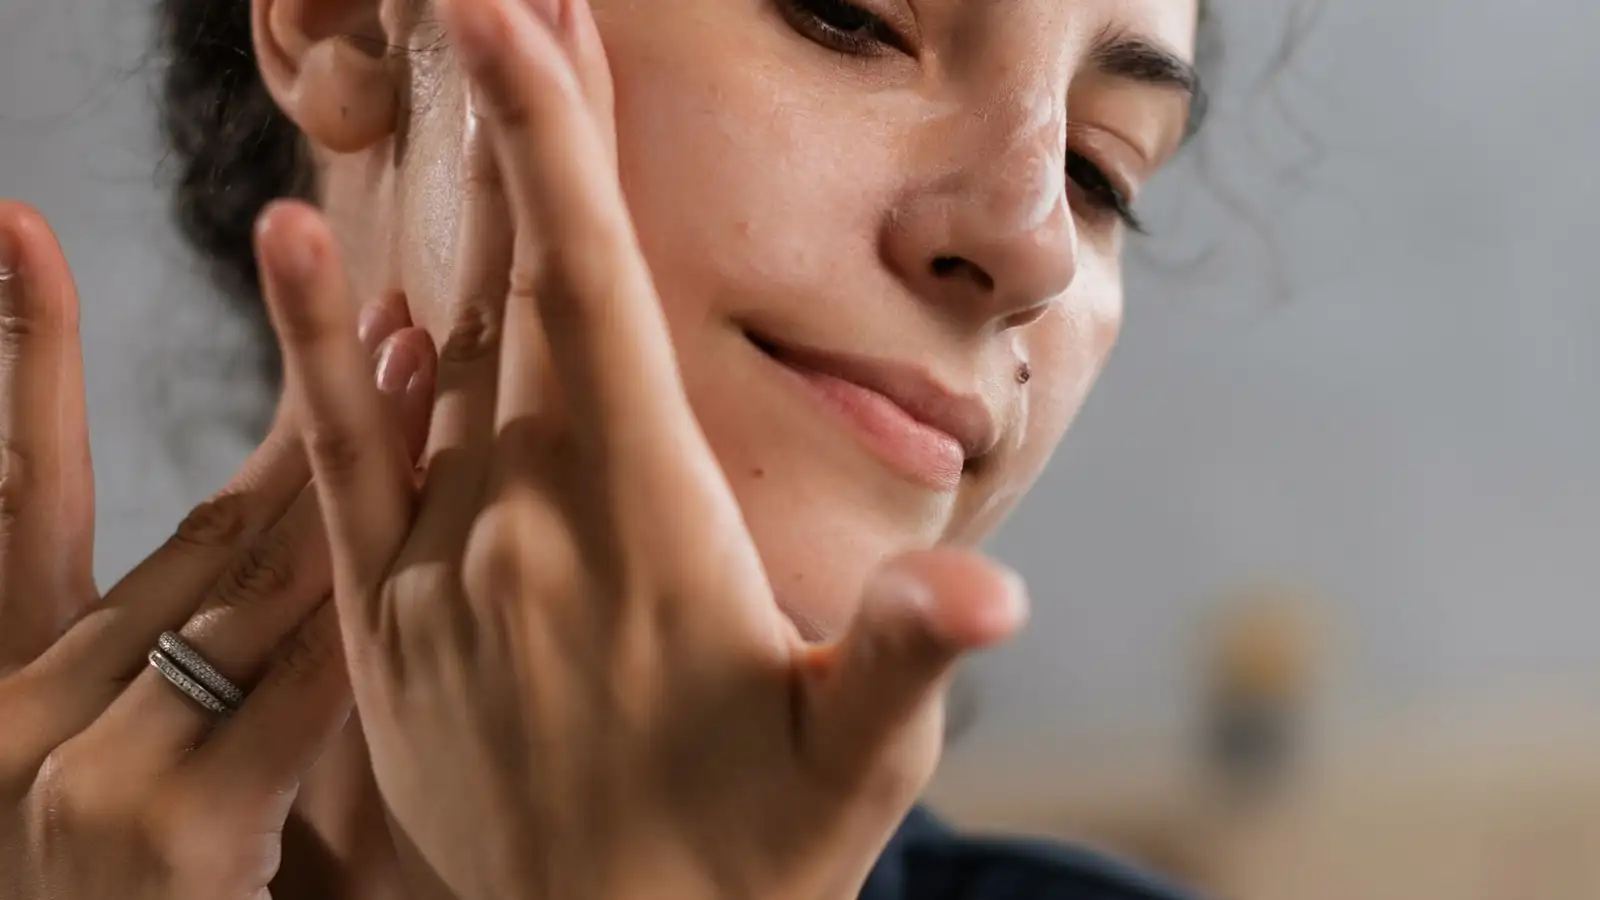
This is the highest-leverage change most people can make in a single morning. Applying with a sweeping brush drags wet product across the surface. Some of it lands on the ridges; a lot of it gets pushed down into the depressions, which is exactly where you do not want extra pigment. Pressing with a damp sponge or your fingertips uses even downward force, so the film sits where it lands instead of being herded into the low spots. It also leaves less surface oil for the film to slide on later.
Thin passes beat one thick one every time. Two or three light layers, pressed, give you a film that sets in stages. One heavy layer gives you a reservoir of product sitting on your face with nowhere to go but into the texture.
Aim the product where it is needed: the center of your face, the sides of your nose, the inner cheeks. Leave the outer perimeter thinner. That outer band is where your face moves most, and where texture is least visible anyway.
On primer, one honest caveat. A silicone-based primer does temporarily blur the surface, and that is real. It is also a slip layer. Put a water-based foundation over it and the two bases do not grip each other, and you get pilling and separation, which itself reads as texture. Match the base to the base, or drop the primer. If you keep one, use less than feels right and let it set for a minute before foundation goes on. A primer should be a thin grip layer, not a coat of paint.
Formula decisions that change how the film behaves
You do not need a specific product here; you need a category decision. Two variables matter most.
The first is base compatibility with whatever sits underneath. A quick test at home: put a dot of your primer and a dot of your foundation on the back of your hand, rub them together, and watch. If they ball up or separate, they will do the same on your face, just more slowly and with more texture showing.
The second is how quickly the film sets. Formulas with more emollient oil stay mobile longer, which is wonderful on dry cheeks and a liability on an oily T-zone. Formulas that set faster bridge over texture instead of sinking into it, which is wonderful on a shiny nose and unforgiving on a dry patch. The practical move is zoning: an emollient formula where your skin is dry, a faster-setting one where it is oily, blended out at the jaw where most people stop paying attention anyway.
Coverage matters too. Buildable sheer-to-medium layered thin behaves better than full coverage in one pass, because the total amount of product on your face is what feeds the pooling, not the number on the label. If you need the coverage, layer it, and keep each layer pressed thin.
Where finishing backfires
Powder is usually where people create the problem they were trying to solve. Pressed over oil, powder turns to paste, and paste in a pore opening is just pigment with extra body. Blot first, always, then press a small amount in with a puff.
Powder only where you need it. T-zone, sides of the nose, anywhere you already know will shine in two hours. Leave the outer face alone. And match the powder to your depth. A powder lighter than your skin is not neutral; it is a highlighter for every pore you own.
Setting spray is the underrated step, because it re-merges the film slightly. A fine mist, then a light press with clean hands or a dry sponge, softens the powdery plane and drops the contrast between the pore openings and everything around them. It will not rescue a broken film, but it will make a good one look more like skin.
Skip baking. Heavy powder pressed into large areas is a texture amplifier and a drying agent, and on deep skin it also introduces cast.
The three-hour check and the midday repair
The moment that matters is not at application. It is three to four hours in, once sebum has had time to work up through the film. Check at a window again, same raking angle. What you are looking for is which zones have started to pool, because that tells you where your film is weakest, and next time you will build thinner there and powder that zone first.
If it has already happened, repair it without rebuilding it. Blot the area. Then press the settled patch with a barely damp sponge, which redistributes the pigment instead of adding to it. Then a light press of powder. What you do not do is add another layer of foundation over a broken film; that stacks fresh product on top of pigment that has already pooled, and by mid-afternoon it will look twice as heavy in exactly the same spots.
If an area is genuinely gone, take it off locally and redo that small patch thin. Removing and reapplying a patch always beats layering.
What no product will do
Pore size is not a condition and it is not going to change with a routine. It is a fixed feature of your skin, and at close range in daylight it will always be visible on some level. The only variable you actually control is the film on top of it: how thin it is, how well it has adhered, how evenly it has set, and how much contrast it creates between a pore opening and the skin right next to it.
That reframe is the whole article in one line. You are not closing pores. You are building a film that bridges them, keeping it thin, keeping it matched, and checking it in the light that tells the truth.
About the author
The Undertone
The Undertone is a byline for people who learned foundation on brown skin by swatching, mixing, and checking color in real light. They share a practical focus: if the depth and undertone are right, the formula will follow.
More about us